
You've finished work, your shoulders are tight, and your lower back has started complaining before you've even put your shoes on. The idea of an 8 week fitness challenge sounds appealing, but many popular programmes assume you can jump straight into burpees, deep squats, long runs, or heavy lifting. If your knees feel stiff, your neck aches after desk work, or your back pain comes and goes, that approach can make exercise feel risky rather than restorative.
A pain-aware challenge has a different purpose. It's a structured return to movement, built around gradual loading, useful checkpoints, and modifications that let you train without constantly provoking symptoms. The target isn't a dramatic transformation. It's to walk more comfortably, climb stairs with less hesitation, regain strength, and trust your body again.
Table of Contents
- Why an 8 Week Fitness Challenge Can Work When You Have Pain or Stiffness
- Baseline Testing and the 10% Progression Rule
- The Four Phases of a Gentle 8 Week Fitness Challenge
- Joint-Friendly Exercises and Smart Modifications
- Recovery, Sleep, and Simple Nutrition for Pain-Friendly Training
- Tracking Your Progress and Spotting Warning Signs
- After Week 8 and When to See an Osteopath
Why an 8 Week Fitness Challenge Can Work When You Have Pain or Stiffness
A 45-year-old office worker might begin with a familiar ritual: rubbing the base of the neck, rolling the shoulders, and wondering whether today's workout will leave them worse tomorrow. They remember when exercise felt straightforward. Now, a stiff hip changes the way they walk, a creaky knee makes stairs less appealing, and a long meeting can create a deep ache across the back.
A generic 30-day transformation plan rarely accounts for that experience. It often treats discomfort as a motivation problem and rewards people for doing more, faster. For someone managing persistent pain, the better starting point is capacity, not intensity. You need enough movement to stimulate adaptation, but enough restraint to avoid turning every session into a flare-up.
A reset, not a transformation
Eight weeks gives you a useful period for building consistency without making the programme feel endless. The Australian adult movement recommendations provide a clear framework, adults aged 18–64 are advised to complete 150–300 minutes of moderate-intensity activity each week, or 75–150 minutes of vigorous activity, alongside muscle-strengthening work on at least two days weekly, as outlined by the Australian Government's physical activity guidelines.
That target doesn't mean you should start at the upper end. It gives you a destination to approach gradually. A person returning from inactivity might begin with short walks, supported strength exercises, and mobility work, then build tolerance as their symptoms allow.
Practical rule: The best challenge is the one you can repeat next week without fear, resentment, or a significant flare-up.
Pain can make ordinary movement feel threatening. Graded exposure helps replace that uncertainty with evidence. You notice that you can sit longer, turn your head more easily, or complete a walk without guarding every step. Those changes may look modest beside a transformation photograph, but they're often more meaningful for daily life.
The challenge should therefore measure confidence and function, not just body weight or appearance. A successful week might mean moving through a larger pain-free range, recovering more quickly after exercise, or completing planned sessions with less mental resistance. Progress is still progress when it's quiet.
Baseline Testing and the 10% Progression Rule
Before starting, record where you are. Baseline checks aren't exams, and they shouldn't become a competition with yourself. Their purpose is to give you a reference point so you can recognise improvement that a mirror or set of scales may miss.
Choose a calm day and perform the checks below without forcing range or speed.
Three useful starting checks
- Five-minute walk-talk test: Walk at a brisk but comfortable pace for five minutes. Speak in complete sentences and note whether you need to pause, shorten your answers, or slow down.
- Sit-to-stand check: From a stable chair, stand and sit repeatedly for 30 seconds, using your arms if necessary. Record the number and note whether one leg does more work.
- Shoulder mobility check: Reach one hand over the shoulder and the other behind the back. Record the distance between the hands, or simply note which side feels tighter. Don't pull into the position.
The supplied baseline testing checklist infographic can sit beside these notes in your training record.
The infographic's chest expansion suggestion can also be used as an observation, but it isn't a substitute for a clinical breathing assessment. Keep every test comfortable, and stop if you develop sharp pain, dizziness, unusual breathlessness, or other concerning symptoms.
Progress without provoking
Use a 10% progression ceiling. Increase only one training variable at a time, such as total walking time, repetitions, resistance, or session intensity, and keep the increase at no more than 10% from the previous week. This practical approach is consistent with Australian guidance for ongoing low back pain, which recommends starting slowly, pacing activity, and progressing gradually in the RACGP exercise guidance for ongoing low back pain.
Start below what you think you can do. Motivation commonly rises faster than tissue tolerance, especially during the first few weeks. A buffer lets you finish sessions feeling capable rather than depleted.
Rate pain during exercise and again later that day and the following morning on a 0–10 scale. Mild, stable discomfort may be acceptable, but symptoms shouldn't escalate during the session or remain noticeably worse for more than a day. Retest at the end of week four. If walking, sit-to-stand, or shoulder movement feels easier without a symptom increase, you're ready to progress. If not, repeat the phase.
The Four Phases of a Gentle 8 Week Fitness Challenge
A useful programme changes emphasis without changing its basic promise: move regularly, strengthen sensibly, and leave enough recovery between demanding sessions. Four two-week phases make the plan easier to follow because each block has a clear job.
Weeks one and two, reintroduce movement
The first phase is about reducing hesitation. Walk, cycle, or use an elliptical trainer for short, comfortable sessions. Add gentle mobility for the hips, thoracic spine, and ankles, then practise bodyweight movements through a reduced range if stiffness limits depth.
A chair-supported sit-to-stand is more valuable here than a deep squat performed with poor control. Keep the effort moderate, breathe continuously, and stop while your technique remains tidy. If your back or knees feel worse the next morning, reduce duration or range before adding anything.
Weeks three and four, build tolerance
Once basic movement feels familiar, introduce light resistance through bands, light dumbbells, or household objects that are easy to control. Add longer low-impact cardio blocks only when the previous workload has settled.
Controlled single-leg and single-arm exercises can now appear in small doses. A supported split stance, a wall-assisted step, or a one-arm band row challenges balance and coordination without requiring unstable surfaces. Week four is a useful review point. Don't progress just because the calendar says so. Use your baseline results and symptom response.
Weeks five and six, develop strength and balance
The third phase adds progressive resistance while preserving smooth movement. You might use slightly heavier loads, slower lowering phases, or an extra set, but not all three at once. Cardio can become more sustained, with sessions approaching 25 minutes only if that duration is already well tolerated.
Balance work belongs here too. Practise heel-to-toe walking near a wall or bench, keeping the exercise simple enough that you can recover safely. Older adults may benefit from giving balance, mobility, and coordination regular attention, because Australian adult guidelines include these movement qualities alongside aerobic and strengthening activity.
Weeks seven and eight, consolidate confidence
The final block combines strength and cardio in the same session. For example, complete a short strength circuit, recover, then walk on a gentle incline. If stairs are comfortable, use controlled stair intervals rather than rushing upward. Hill walking can be useful, but it's optional, not a test of worth.
The four-phase eight-week workout plan infographic provides a visual version of this progression.
Keep the 10% rule throughout. If pain rises, insert a deload micro-week by reducing duration, repetitions, or resistance while maintaining gentle movement. The aim is to finish week eight with more options, not with a body that needs a long break.
This short video offers another visual reference for controlled training technique:
Joint-Friendly Exercises and Smart Modifications
Your exercise selection should match the joint or region that limits you, not the programme you downloaded. A stiff knee may tolerate a shallow sit-to-stand but dislike a deep squat. A sensitive back may accept a hip hinge with support but react to repeated flexion. The standard movement is only a starting point.
Lower-body strength without forcing depth
For a chair-supported sit-to-stand, place your feet under your knees, lean slightly forward, and stand without collapsing inward. Lower only as far as your symptoms remain mild and controlled. Use armrests or push through your thighs as a regression. If standing itself is uncomfortable, practise seated marching and gentle knee extension instead.
A wall-assisted split squat develops single-leg strength while the wall reduces balance demands. Keep the stance short and lower through a small range. Hold the wall with one hand, or replace the movement with a supported weight shift if the front knee becomes irritated.
For a Romanian deadlift, use a wall or doorway to help track your hips backwards. Keep the spine comfortable and move from the hip crease. Reduce the range by stopping well before the back rounds. During a flare-up, substitute standing hip hinges without load.
Trunk, shoulder, and cardio options
A McGill-style curl-up can replace traditional crunches when repeated spinal flexion aggravates your back. Keep one knee bent, support the natural curve of the lower back, and lift the head and shoulders only slightly. If that still causes symptoms, use abdominal bracing while lying or standing.
Supported hip bridges work the posterior chain without requiring a large movement. Place a foam block or cushion between the knees if it helps you maintain alignment, and reduce the lift height if the back arches. For desk-related shoulder tightness, band-assisted external rotations are usually easier to control than overhead pressing. Keep the elbows close to the ribs and use very light resistance.
Rotate low-impact cardio rather than repeating the same stress:
- Stationary cycling: Reduce resistance and keep the pedals smooth if knees are sensitive.
- Elliptical training: Use a short stride and hold the rails lightly if balance is uncertain.
- Walking intervals: Alternate comfortable walking with brief, slower periods on difficult days.
The joint-friendly exercise guide shows how to reduce load without abandoning the movement pattern. You can also use this arthritis and joint mobility resource when planning modifications.
Move with a controlled tempo, breathe out through the effort, and stop if mild exertion becomes sharp, catching, electric, or spreading pain. A substitution isn't a failure. It's how you keep training while respecting the information your body is giving you.
Recovery, Sleep, and Simple Nutrition for Pain-Friendly Training
Training creates a stimulus. Recovery determines whether you can use it. Adults with persistent pain often need to pay closer attention to the space between sessions because poor sleep, long periods of sitting, and under-fuelling can make ordinary exercise feel disproportionately demanding.
Sleep supports physical recovery and can influence how sensitive you feel the next day. Aim for seven to nine hours where possible, keep a consistent wind-down routine, and use a short morning mobility flow to ease into the day rather than testing your stiffest joints immediately.
Food doesn't need to become another strict challenge. Build meals around a palm-sized portion of protein, a fist of vegetables, a cupped hand of starch, and a thumb-sized portion of fats. Oily fish, berries, and leafy greens are practical choices, but no single food will cancel out poor recovery.
| Area | Minimum target | Pain-friendly tip |
|---|---|---|
| Sleep | Seven to nine hours where possible | Keep wake and bedtime reasonably consistent |
| Meals | Protein, vegetables, starch, and fats | Don't train hard after a day of very little food |
| Hydration | Drink regularly across the day | Keep water available during desk work and sessions |
| Mobility | Brief, comfortable daily movement | Use gentle range in the morning, not forced stretching |
| Rest | Planned easier days | Treat recovery as part of the programme |
Training days may require more food, but avoid prescribing a rigid intake without considering body size, medical conditions, appetite, and goals. Under-fuelling can leave you flat, irritable, and less able to tolerate exercise. If you're managing a medical condition or have a history of disordered eating, seek individual dietary advice rather than following a generic challenge menu.
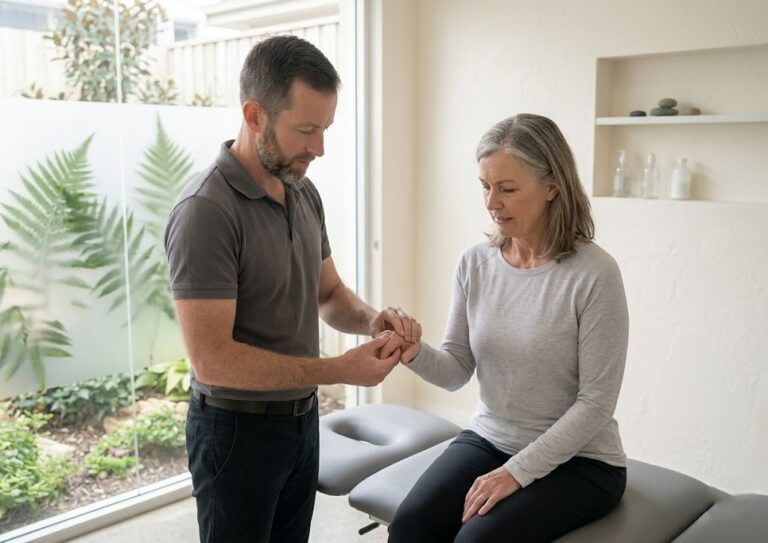
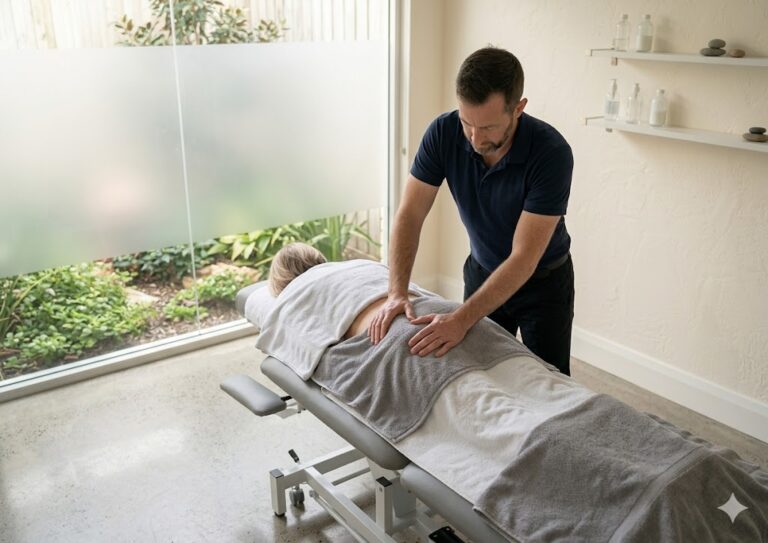
A short walk, a position change, and a few comfortable shoulder or hip movements can be more useful than an ambitious recovery routine you won't maintain. For hands-on support, this remedial massage and muscle therapy resource may help you understand where soft-tissue care fits alongside active rehabilitation.
Tracking Your Progress and Spotting Warning Signs
A notebook or phone note is enough. Record the session, the main exercise, the resistance or duration, your pain location, pain intensity, sleep quality, and perceived effort. You're looking for patterns, not perfect data.
A practical weekly record
- Strength: Note the resistance and repetitions for key movements.
- Mobility: Record whether a turn, reach, squat, or hinge feels freer.
- Sleep: Log whether your sleep was settled or repeatedly interrupted.
- Pain: Write the location and rate it from 0–10.
- Effort: Use an RPE score from 1, very easy, to 10, maximum effort.
The progress tracking template infographic can make this process easier to scan.
Healthy progress might be a slightly larger range of motion, a modest increase in resistance, or the same workout feeling easier. It may also mean your symptoms return to their usual level more quickly after training.
Repeat the week if pain is trending upward or technique is deteriorating. Deload if symptoms remain high into the next day, especially if sleep or normal movement is affected. Pause self-guided training and seek assessment for sharp or radiating pain, chest pain, dizziness, numbness, or other unusual symptoms. Consistent, repeatable work beats a heroic session followed by several inactive days.
After Week 8 and When to See an Osteopath
Week eight shouldn't be treated as a finish line. It's a checkpoint showing what your body can currently tolerate and which habits deserve to stay. A practical maintenance rhythm could include two strength sessions, two mobility blocks, and two cardio efforts, adjusted to your symptoms, schedule, and recovery.
Repeat the programme at the same intensity before adding heavier loads. This gives you another opportunity to confirm that the new routine is stable rather than a temporary peak. Reassess against the same walking, sit-to-stand, and shoulder checks you used at the beginning, then make one change at a time.
Expected post-exercise soreness is usually local, familiar, and gradually settles. It shouldn't be sharp, spreading, progressively worsening, or associated with neurological symptoms. Pause training and book an osteopathic assessment if pain wakes you from sleep, lasts beyond 48 hours after a session, or comes with numbness, tingling, swelling, joint locking, or new headaches.
An osteopath considers more than the painful spot. An assessment may review posture, joint range, tissue tone, movement patterns, training technique, work habits, and other factors that influence how you load the body. This spine and shoulder movement resource may help you think about the broader movement picture.

Use these final actions to keep the reset practical:
- Keep the sessions you can repeat consistently.
- Retain mobility and balance work rather than focusing only on cardio.
- Increase one variable at a time.
- Recheck your baseline measures regularly.
- Get professional guidance when symptoms change, persist, or become difficult to interpret.
If pain, stiffness, or desk-related strain is making exercise feel uncertain, Bayside Osteopathic Health offers gentle, personalized osteopathic care alongside practical movement advice for rebuilding confidence safely. Visit Bayside Osteopathic Health to book an assessment and create a realistic plan for comfortable, consistent activity.