
Most foot pain responds well to conservative, hands-on care when you tackle load, footwear and movement early. Addressing the cause is more effective than hunting for a single magic product.
Table of Contents
- Understanding the Problem for Effective Foot Pain Relief
- Quick Self-Care You Can Start Today
- Stretching and Strengthening Routines That Build Lasting Relief
- Choosing Footwear and Orthotics That Support Recovery
- Activity Modifications and Pacing for Real Life
- Red Flags and When to Book a Hands-On Assessment
- Your Foot Pain Relief Action Plan and Common Questions
Understanding the Problem for Effective Foot Pain Relief
Foot pain is common and usually mechanical rather than structural. That means changes to how you load the foot, what you wear and how you move often bring faster gains than passive treatments alone. For example, a retail assistant who swaps thin-soled flats for supportive shoes and adds short calf stretches can see heel pain drop within days, while structured rehab prevents recurrence.
- Key idea Support, load and movement are the three levers you can control today.
- Quick benefit Early action often avoids longer-term problems like tendon overload or persistent plantar fasciitis.
- When to prioritise professional help sudden swelling, numbness, inability to weight-bear or pain that wakes you at night.
Three Paths to Foot Pain Relief at a Glance
| Approach | Best For | Time to Notice Change |
|---|---|---|
| Self-care | Mild, recent pain from overload | Hours–2 weeks |
| Structured rehab | Recurrent pain or weakness | 2–8 weeks |
| Professional assessment | Red flags, complex or persistent pain | Immediate plan with 1–4 weeks improvement |
"Address how you move and what you wear before chasing gadgets" — practical takeaway for everyday foot pain relief
Real-World Scenarios That Clarify Choices
A desk worker with morning heel pain finds relief by doing a towel calf stretch between meetings and switching shoes; improvement is quick but ongoing calf strength stops recurrence. A weekend walker who ignores early twinges needs gradual rehab and a footwear change to return to long walks without flare-ups.
Practical Next Steps
- Reduce painful load for a few days and use targeted self-massage on the arch.
- Choose supportive shoes with a stable heel and roomy toe box.
- Start gentle calf and plantar stretches, progressing into intrinsic foot exercises.
Read also: Learn more about foot anatomy sketches and common pain patterns in our guide to help match symptoms to sensible first steps (image and detailed visual reference).
Quick Self-Care You Can Start Today
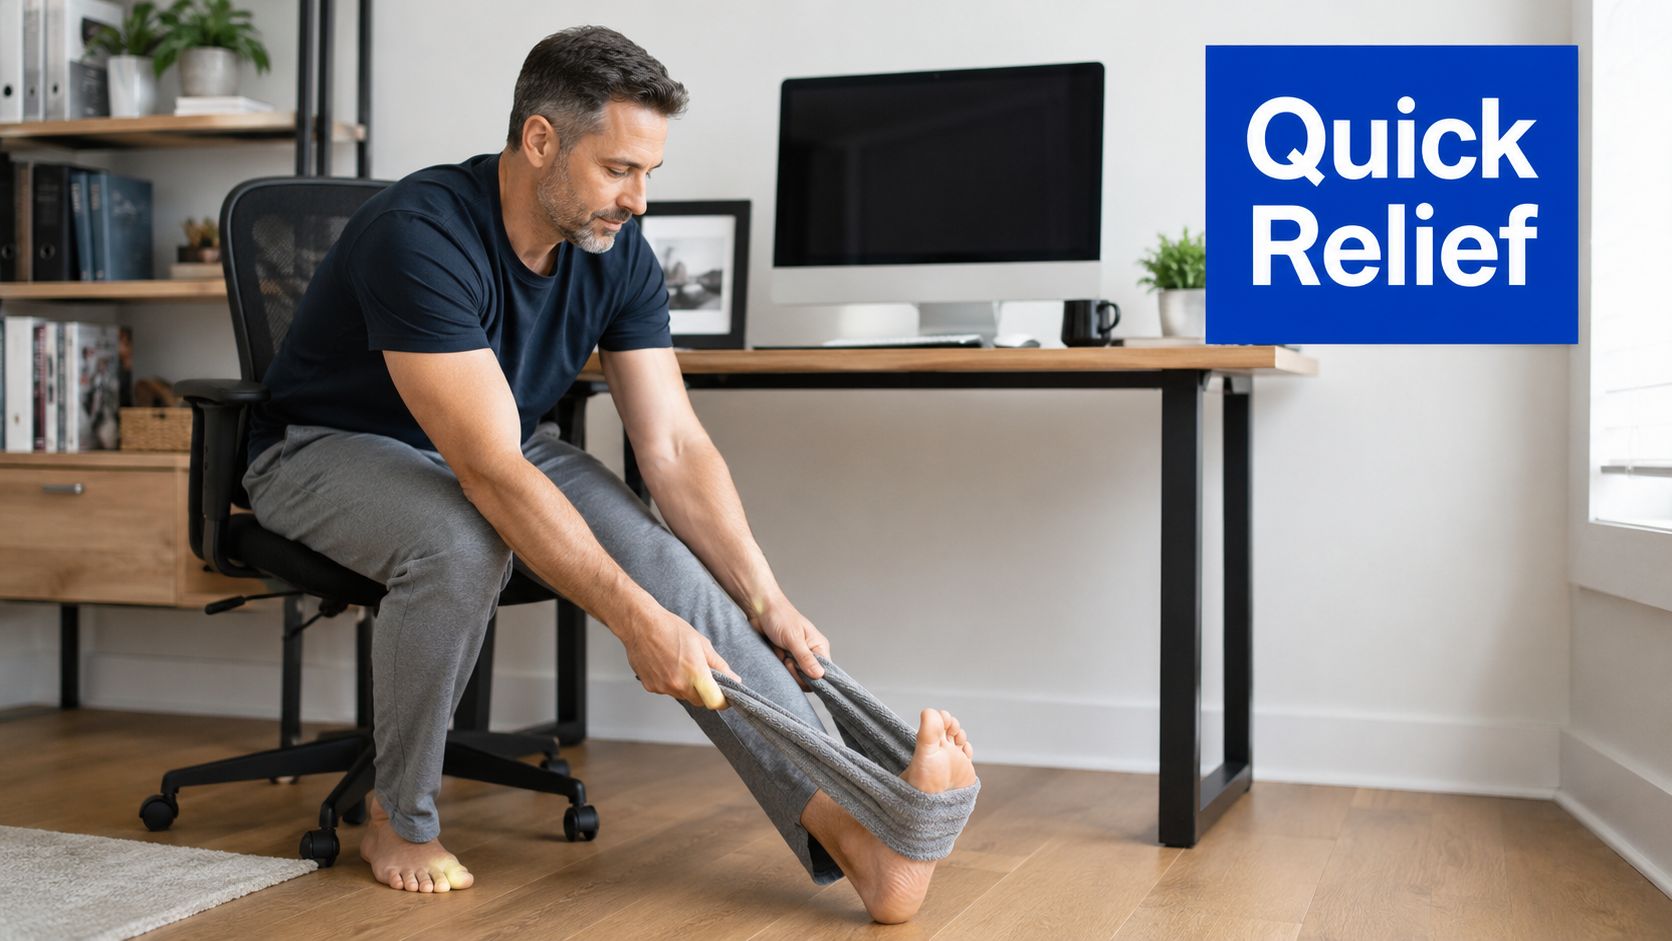
The first thing to dial things back when a flare-up hits is load management. If heel or arch pain flares through the day, pull back on standing time and break long walks into shorter, more frequent bouts with rests in between. It sounds simple, but it can calm things down remarkably quickly and stop you from paying for it by evening.
Managing Inflammation at Home
Deciding between ice and heat depends largely on timing. Reach for ice when the pain is acute and sore—15 minutes every 2–3 hours for the first 48 hours does the trick. Heat tends to work better later in the day, especially for loosening up tight calves and the plantar fascia when they've been through the wringer.
Over-the-counter anti-inflammatories can be useful as a short-term tool to help you move more comfortably. Nonsteroidal options, taken as directed for a brief window, create enough relief to allow gentle activity. Just keep in mind they're a bridge to movement, not a standalone fix.
Self-Massage and Stretching Techniques
Working on the plantar fascia yourself can make a noticeable difference. Sitting down, cross your ankle over your opposite knee and roll a tennis ball or frozen water bottle slowly under the arch for one to two minutes. Doing this twice daily tends to reduce that sharp morning pain and loosen things up.
For desk workers especially, a calf release can be a game changer. Wrap a towel around the ball of your foot and pull gently towards you—hold for 30 seconds, five reps each side. If you've got a foam roller handy, two minutes on the calf between meetings works just as well.
"Two minutes of calf stretching between meetings cut my afternoon heel pain in half" — real example from a desk worker
A Simple Anywhere Routine
When you need something practical you can do without any equipment or fuss:
- Take a short walk break every 30–60 minutes to unload the foot
- Apply ice after long standing shifts for 10–15 minutes
- Fit in a two-minute calf or towel stretch mid-afternoon
- Roll the arch with a ball for 1–2 minutes before bed
Knowing When to Step It Up
These self-care measures are genuinely useful, but they serve a specific purpose—calming symptoms while you figure out the bigger picture. They rarely resolve the underlying issue on their own.
If your pain lingers past two weeks, gets progressively worse, or comes with numbness or swelling, it's worth booking in for a hands-on assessment. That's where you can properly address the root cause, get lasting foot pain relief, and explore whether Medicare rebates apply to your situation if you're eligible.
Stretching and Strengthening Routines That Build Lasting Relief
The best routine is one that actually fits into your day. Start with a short sequence you can slip into mornings and evenings without it feeling like a second job. Keep it simple: gentle calf work, plantar fascia lengthening, toe mobility, and a few intrinsic strengthening moves.
Daily Sequence Example
Calf stretch hold: Stand facing a wall, one foot back, heel planted. Lean forward for 30 seconds, five reps per side. This eases tension through the Achilles and takes load off the plantar fascia. Worth repeating after long walks, especially if you've been on hard surfaces.
Plantar fascia stretch: Sit down, cross one ankle over the opposite knee, and pull the toes back toward your shin. You'll feel the stretch under the arch. Hold 20–30 seconds, three reps. Doing this first thing in the morning helps calm that sharp first-step pain many people dread.
Toe mobility drill: Spread your toes wide, then scrunch them tight for 10–15 seconds. Rest and repeat three times. Better toe control helps spread the load across your forefoot and takes pressure off painful hotspots.
Intrinsic strengthening block: Two exercises here. Towel scrunches: lay a flat towel on the floor, place your toes at one end, and pull it toward you using only toe flexion for 30–60 seconds. Short-foot exercise: while seated, lift the arch without curling the toes and hold for five seconds, 10 reps.
"Consistency beats intensity every time when rebuilding foot capacity" — aim for daily practice rather than occasional long sessions
Building the Routine Week by Week
Rather than jumping straight into harder work, layer things gradually. Here's a progression that tends to work well:
Weeks 1–2 focus on showing up. Two short sessions daily, 5–8 minutes, using the basic sequence above. Don't worry about how it feels — just build the habit.
Weeks 3–4 add some load. Single-leg calf raises, 2 sets of 8–12 reps, and extend your towel scrunches a bit. Your feet start adapting to more demand.
Weeks 5–6 bring in functional challenge. Try timed hill walks or a 10–15 minute longer walk after your routine. Bump single-leg calf raises to 3 sets.
A practical trick: mark your sessions on your phone calendar or pair them with something you already do without thinking — morning coffee, brushing your teeth, whatever's reliable.
Weekend Walker Case Study
A patient who mainly walked on weekends came in with recurring morning arch pain. We paired a five-minute morning stretch with two three-minute strengthening blocks — one mid-morning and one after the walk. Within four weeks they were feeling steadier on hills and noticed less soreness the following day. Nothing dramatic, just steady progress from a routine they actually stuck with.
Program Variations and Safety
If pain flares during progression, back off two levels. Reduce reps or intensity and add extra plantar massage before trying again.
If you're seeing significant swelling, numbness, or no improvement after two weeks of consistent rehab, it's worth getting hands-on assessment.
Read also: learn more about clinician-guided rehabilitation and exercise progressions in our exercise resource image at Bayside Osteopathic Health 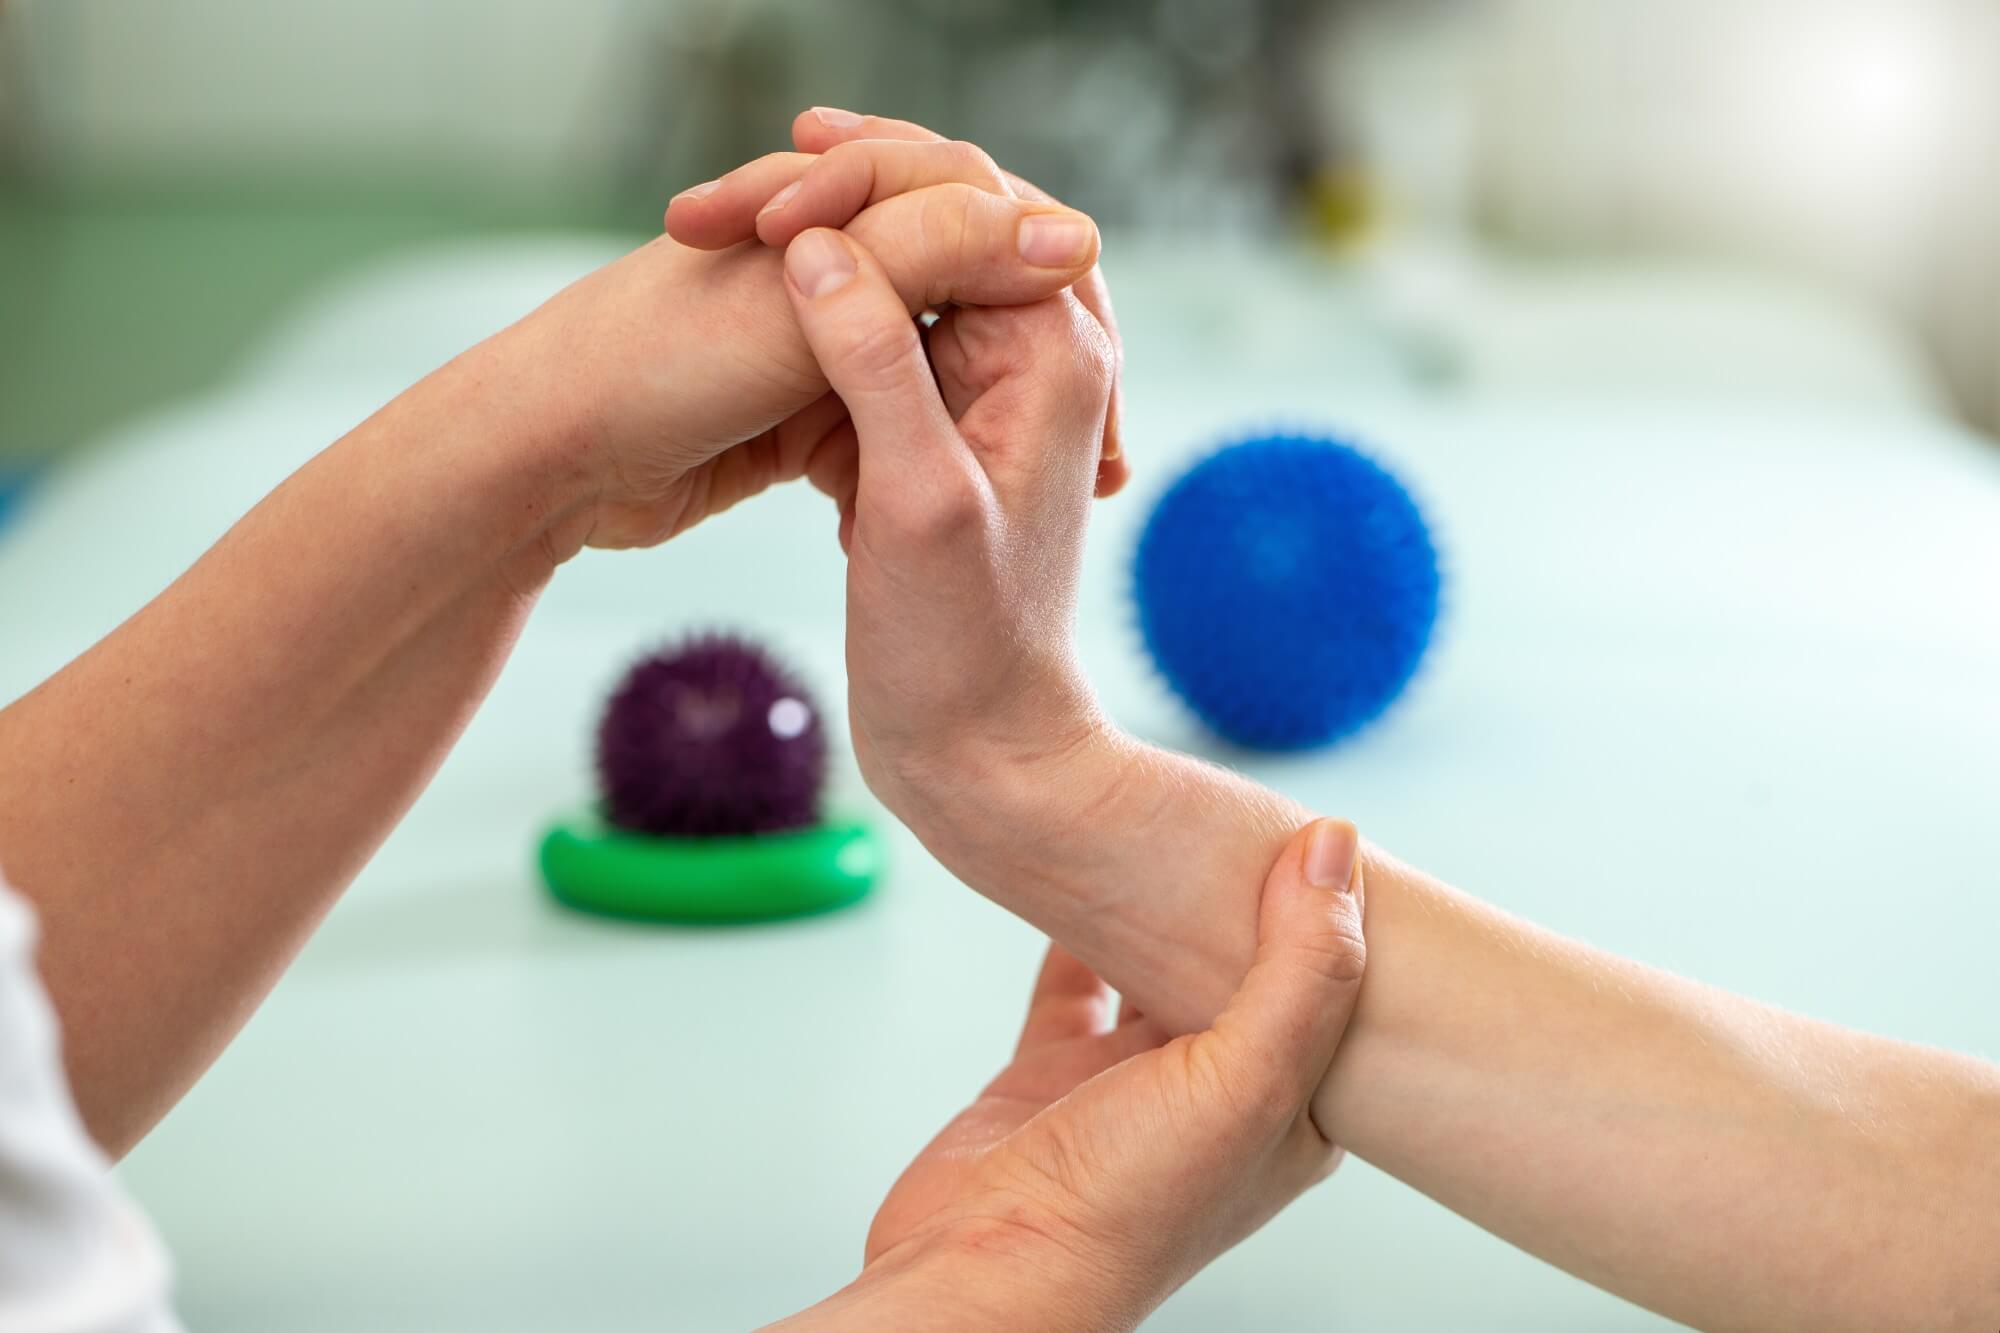
Key Takeaway
Short, regular practice focused on calf mobility, plantar lengthening, toe work, and intrinsic strengthening builds durable foot pain relief far better than occasional intense sessions.
Choosing Footwear and Orthotics That Support Recovery
Getting your footwear right is one of the fastest ways to ease foot pain and keep flare-ups from returning. Prioritise a heel height under 3 cm, a roomy toe box, and a firm heel counter—these three basics take meaningful strain off the plantar fascia and forefoot. For instance, a standing worker who swaps slim flats for a low-heeled, cushioned trainer often notices daily soreness drop by half within days.
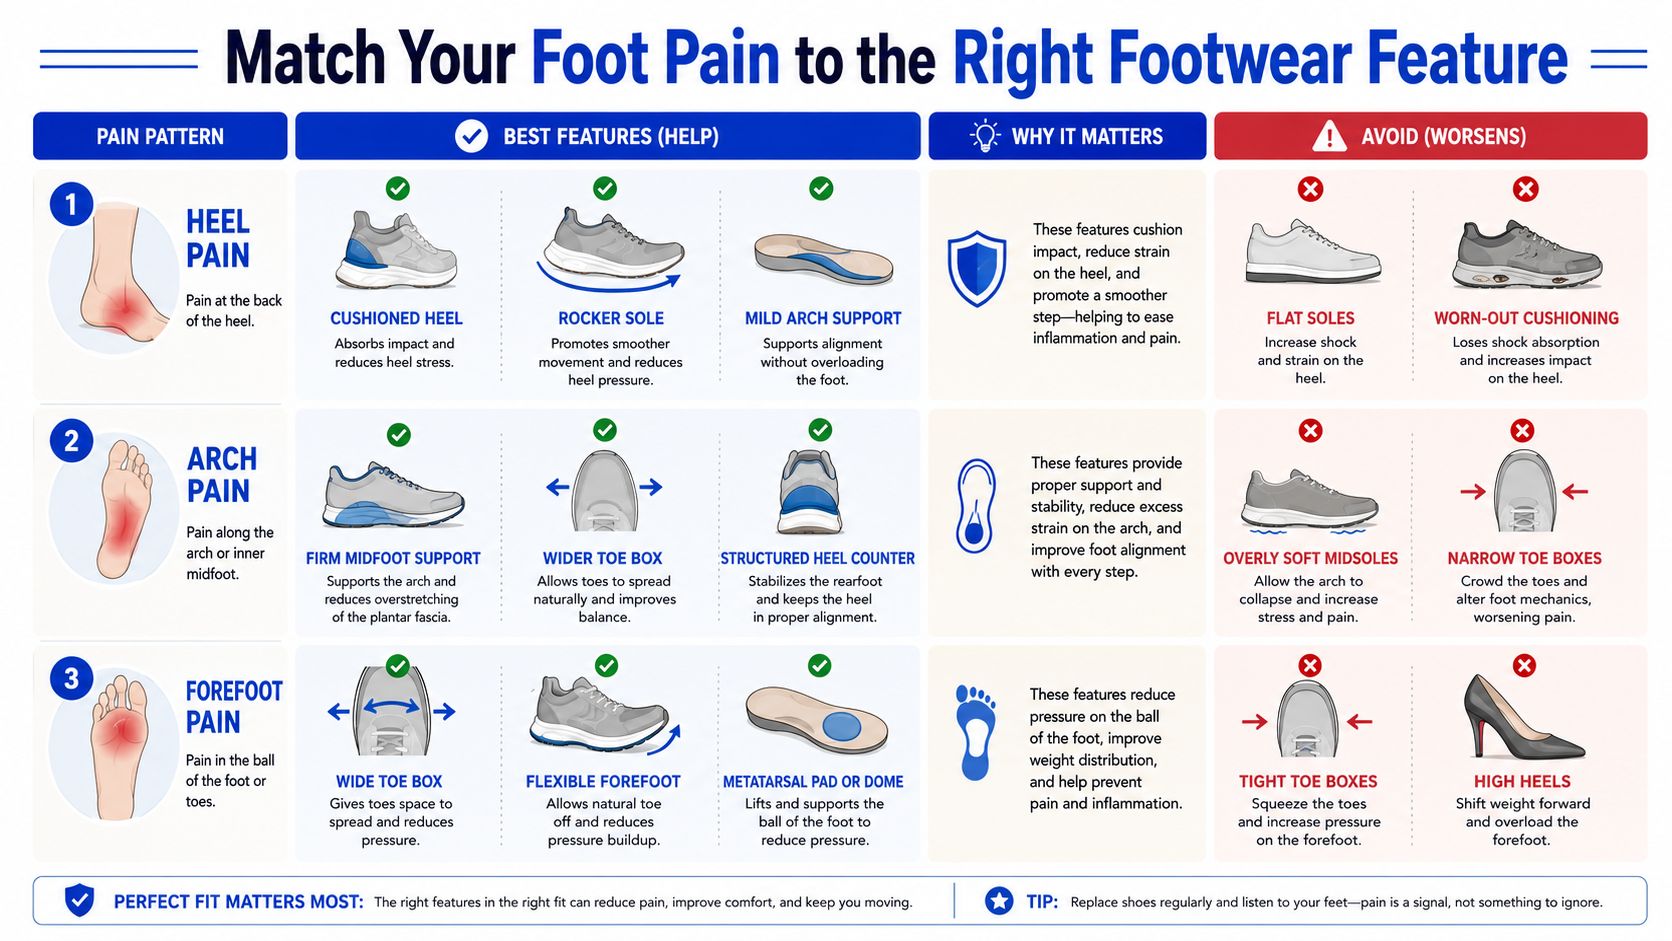
The chart above maps common pain patterns to specific shoe and orthotic features, so you can make smarter choices at the shoe shop without guessing. The takeaway? Small, targeted design tweaks usually outperform expensive hype. Choose features that actually address your pain pattern rather than chasing brand names.
What to Look For in Everyday Shoes
- Firm midsole support helps arch pain by bracing the midfoot and reducing tendon load.
- Cushioned heels and rocker soles ease heel pain by smoothing out the load as your foot strikes the ground.
- Wide toe boxes and flexible forefeets reduce forefoot pressure and can calm neuroma symptoms.
Key insight: Small design choices matter far more than marketing claims when you're after lasting foot pain relief.
When to Consider Orthotics
Off-the-shelf orthotics work well for mild arch or heel pain and cost significantly less than custom options. Custom orthotics become worth the investment when pain hangs around despite decent shoes and a movement assessment, or when there's structural tendon dysfunction at play. That said, pairing inserts with sensible shoe choices matters—a rigid orthotic stuffed into a flimsy shoe tends to create new problems rather than solve old ones.
Match Your Foot Pain to the Right Footwear Feature
Below is a practical comparison to help you narrow things down based on where it hurts:
| Pain Pattern | Look For | Avoid |
|---|---|---|
| Heel Pain | Cushioned heel, rocker sole, mild arch support | Flat soles, worn cushioning |
| Arch Pain | Firm midfoot support, wider toe box, structured heel counter | Overly soft midsoles, narrow toes |
| Forefoot Pain | Wide toe box, flexible forefoot, metatarsal pad | Tight toe boxes, high heels |
Use this table as a quick reference next time you're shopping. If you're unsure which category fits your situation best, an osteopath's movement assessment can clarify which features suit your foot and whether combining orthotics with rehab will deliver lasting foot pain relief.
Activity Modifications and Pacing for Real Life
Smart pacing wins more foot pain relief than pushing through pain.
When a flare-up hits, reduce walking volume and break walks into short bouts with rest breaks. For example, swap a 60-minute walk for three 20-minute walks spread across the day. This keeps circulation and movement without overstressing tissues.
Swap high-impact sessions for lower-impact cardio to maintain fitness. Try cycling, swimming, or an elliptical for 20–30 minutes three times a week while symptoms calm. Additionally, keep short warm-ups and cool-downs—two minutes of calf mobility before exercise and a one-minute arch roll after helps prevent spikes.
"Total rest often makes foot pain worse; measured movement builds tolerance" — practical reminder
A Runner Scenario That Actually Works
A recreational runner with plantar pain cut mileage by 60% and kept two short runs a week (20–25 minutes). They added two strength sessions focusing on calf raises, short-foot exercises, and single-leg balances. Over eight weeks they steadily reintroduced volume, adding 10% weekly, and returned to full mileage pain-free.
Practical Pacing Steps to Follow
Track painful activities in a simple diary for one week to spot patterns. Reduce the single hardest load—long runs, long standing shifts—first rather than everything. Reintroduce load gradually using the 10% rule where possible, but back off sooner if pain rises.
Tips from Clinicians and Patients
- Use softer surfaces or split standing shifts with seating to reduce load during workdays.
- Choose cross-training that keeps cardiovascular fitness while the foot heals.
- Prioritise consistency over intensity; daily short sessions beat sporadic long efforts.
If pain worsens despite sensible pacing, or you get numbness, swelling, or sharp post-injury pain, book a hands-on assessment to explore targeted treatment and Medicare options if eligible.
Red Flags and When to Book a Hands-On Assessment
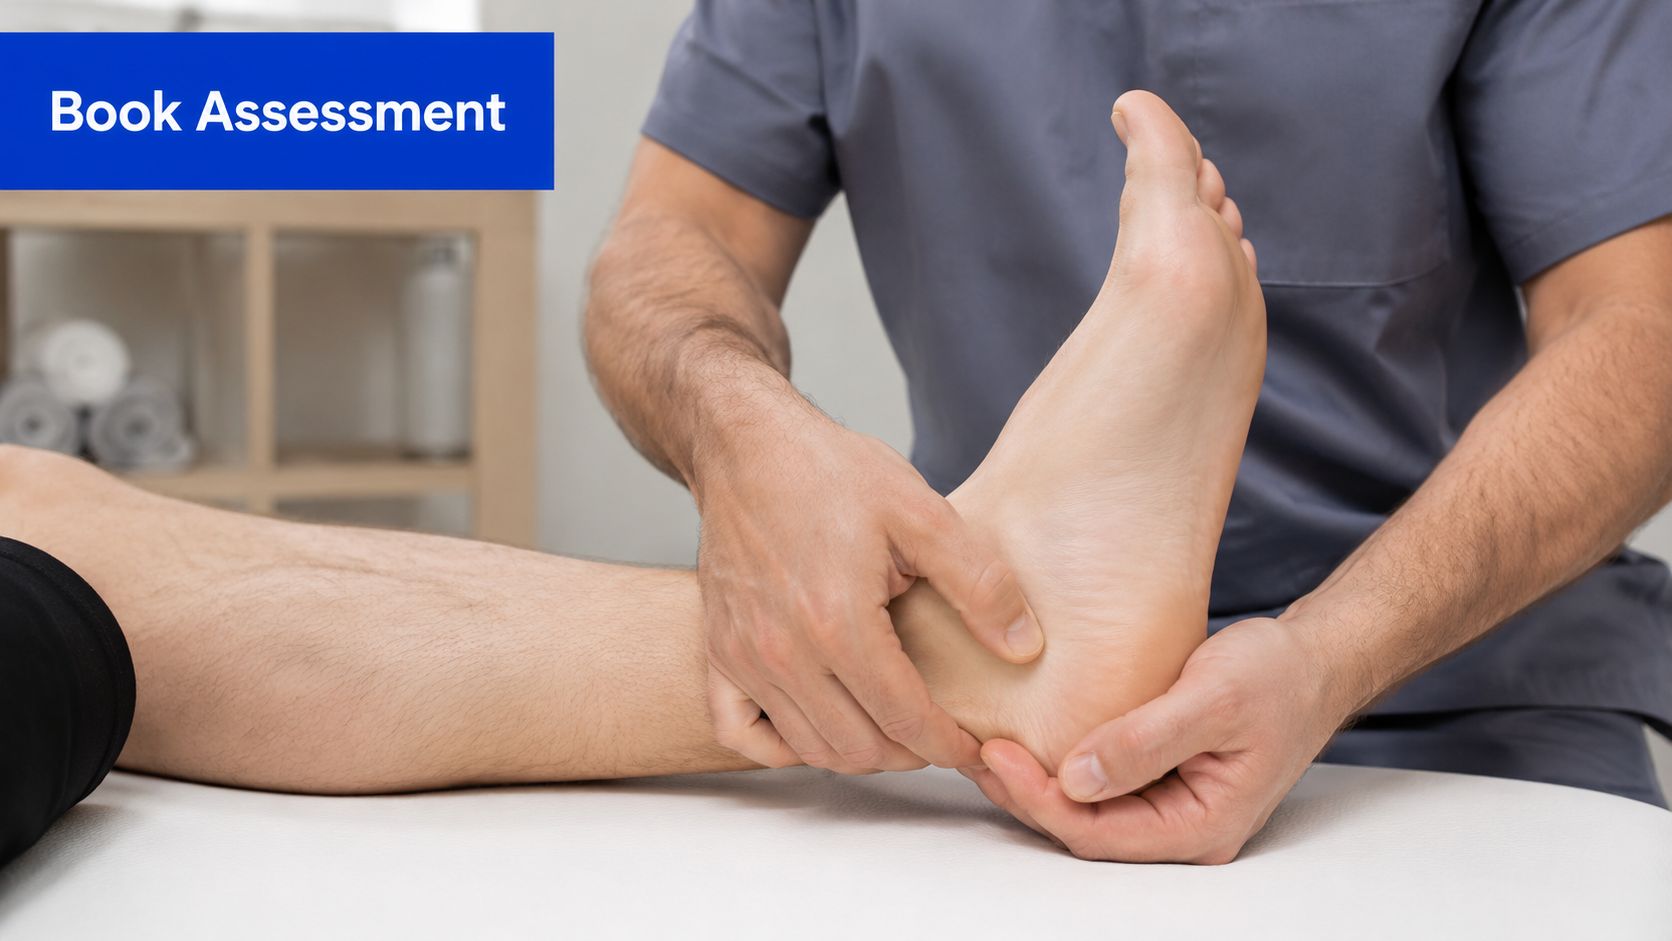
If your foot suddenly swells, goes numb, or you can't put weight on it, stop the self-management approach and get it checked. Pain that wakes you at night, or a sharp increase after a specific injury, should also prompt you to seek help sooner rather than later. And if you've been consistent with self-care for two weeks without any improvement, it's time to book in.
What to Watch For
- Sudden swelling or bruising that wasn't there before
- Persistent numbness, tingling, or burning sensations
- Pain that prevents walking or bearing weight
- Night pain that disturbs sleep or becomes progressively worse
If any of these crop up, getting assessed early can prevent small issues from becoming bigger ones, and you'll likely find relief faster.
Key takeaway: A professional assessment is about ruling out serious problems and getting you moving safely again.
What an Osteopathic Assessment Involves
At your initial Bayside Osteopathic Health consult, the practitioner starts with a whole-body movement check to see how the foot connects with your knees, hips, and back. The hands-on evaluation covers gentle palpation, soft-tissue work, joint articulation, and careful mobilisation to pinpoint where things are restricted.
You'll walk out with a clear diagnosis, a straightforward treatment plan, and a practical home program to keep things moving between sessions.
- Observation of gait and footwear
- Specific foot and ankle mobility tests
- Targeted hands-on techniques and short-term goals
Medicare and Practical Information
Some patients eligible for Medicare chronic care plans may receive partial rebates for sessions. Our reception team can help check your eligibility and walk you through the paperwork so you know your out-of-pocket cost before booking.
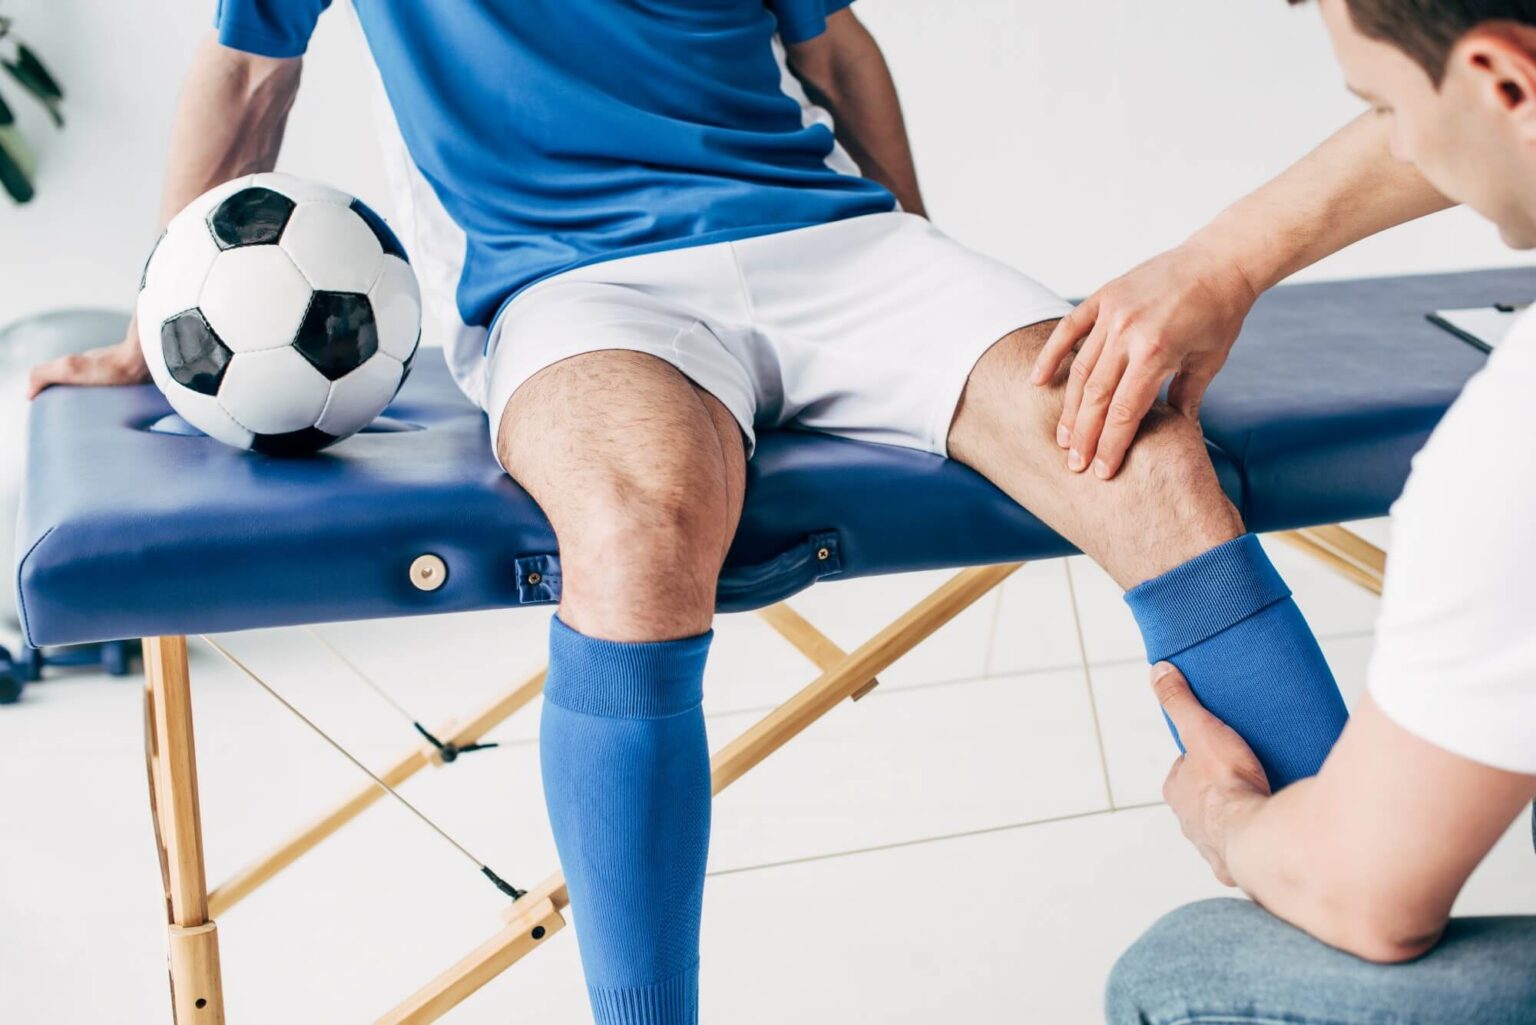
Read also: Clinical treatment image and details – Learn more about clinician-led leg and foot treatment techniques with this clinical image reference.
Your Foot Pain Relief Action Plan and Common Questions
Here's a straightforward approach you can start with right away for foot pain relief.
Start by dialing back the load that's aggravating things. Cut your walking distances for a few days, sit down during long shifts where you can, and try to stand on softer surfaces rather than bare concrete or tile. This takes the edge off and gives your body a chance to calm down without constantly flaring up again.
Build a simple daily routine around stretching and strengthening. First thing in the morning, spend a few minutes on calf stretches and plantar fascia work — hold each for 30 seconds, aim for 3–5 reps. Then slot in two short strengthening blocks: towel scrunches and short-foot holds, each around 1–2 minutes. It's not dramatic, but it builds real resilience over a few weeks.
Take an honest look at your shoes. You want something with a stable heel, enough room in the toe box so your toes aren't cramped, and decent support through the midfoot. If your soles are worn flat or completely unsupportive, that alone can keep things irritated. Over-the-counter orthotics can help with arch pain in the short term, and if you're still struggling despite good footwear and consistent rehab, it might be worth exploring custom inserts.
Activity pacing matters more than people expect. Swap out high-impact sessions for cycling or swimming while you're recovering. When you do reintroduce loading, go slow — small weekly increases, and back off if pain flares. Keeping a simple diary of what you did and how your feet responded can be surprisingly helpful for spotting patterns.
If anything concerning comes up, book in for a hands-on assessment. Things like sudden swelling, numbness, inability to weight-bear, pain that wakes you at night, or simply no improvement after two weeks of consistent self-care are all worth getting checked. An osteopathic assessment looks at how your whole body moves, uses hands-on soft-tissue and joint techniques, and gives you a clear home program to keep things moving forward.
Quick Checklist You Can Screenshot
- Reduce standing time and split walks into short bouts
- Ice acute pain 15 minutes every 2–3 hours for 48 hours
- Do calf and plantar stretches daily 30 seconds, 3–5 reps
- Strengthen with towel scrunches and short-foot exercises daily
- Swap to supportive shoes and trial orthotics if needed
- Book assessment for red flags or no improvement after 2 weeks
"Small, consistent steps beat quick fixes for lasting foot pain relief" — practical takeaway
Common Questions
Is foot pain relief realistic without medication? Yes. Movement, footwear changes and hands-on care often reduce pain without long-term drugs.
How long does recovery usually take? Expect initial symptom drop in days to weeks and meaningful gains over 4–8 weeks with consistent rehab.
Is osteopathy safe for older adults? Yes. Gentle mobilisation and soft-tissue work are commonly used and can be adapted for frailty.
Can Medicare help with costs? Some patients with eligible care plans receive partial rebates; contact reception to check your eligibility.
For ongoing tips and local updates subscribe to the Bayside Osteopathic Health newsletter and visit Bayside Osteopathic Health